Maps ➤ King of Prussia  
610-337-4460Email Us

SUBSCRIBE

Prepress 101: How to Set Up Files for Clear Ink

By , January 9, 2020

InDesign / Illustrator:

  • Select the object/text that you want to be clear
  • Swatches: select the magenta color or make color 100% magenta.
  • Rename the swatch: Clear

  • Color Type: Spot
  • Color Mode CMYK

  • Make sure the layer that is to be Clear is its own layer and the top layer.
  • Rename the layer that the Clear is on Clear (Capital C, lower case “lear”, Clear)

  • Under Attributes: You must select Overprint Fill or Overprint Stroke depending on the selection you are using.

  • Save your file as a HIGH Resolution PDF.

Can’t get your design to work?

If something is wrong with your file, double-check these things:

  • Check that layers are in the right order.
  • Did you set your clear objects to overprint?
  • Make sure your PDF settings are correct.

Request Print Samples

Our clear ink looks their best in person, and the design files look different on the computer than they do when printed! We recommend that you request a clear ink sample, which will help you visualize the end result.

Request Clear Ink Sample

psst...find the printable version of this tutorial in our resource library

Get it for free when you sign up!

Get Printspiration sent right to your inbox

Plus instant access to our FREE template library!

«
»


Comments are closed.

About Conlin's Print

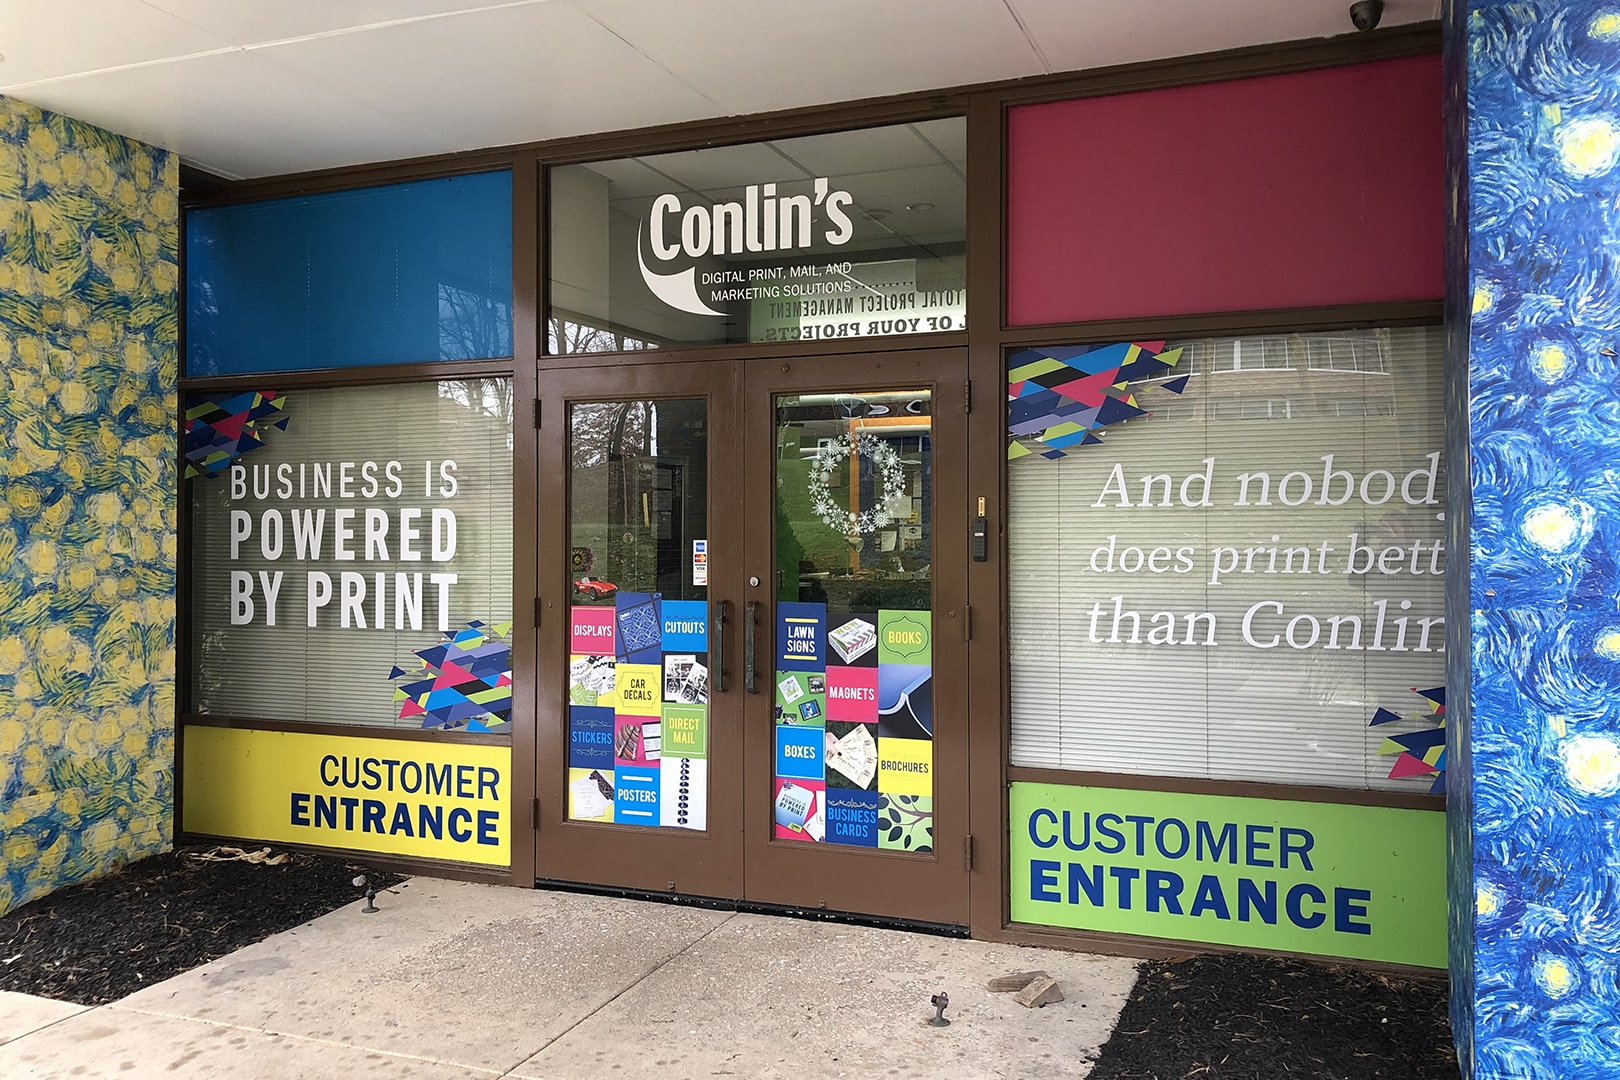
Business is powered by print – and nobody does print better than Conlin’s!

Read More

Recent Posts
Instagram
Categories