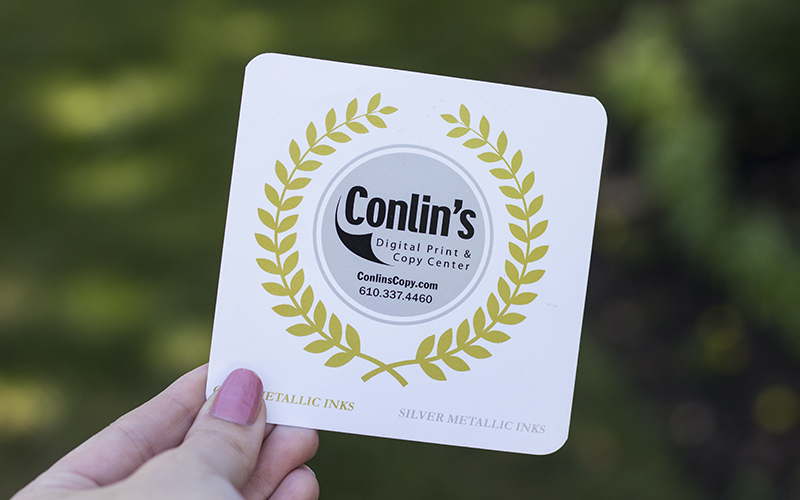
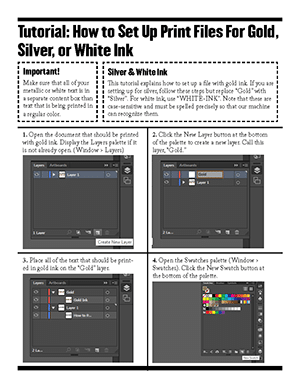
Conlin's is proud of the fact that we offer gold, silver, and white ink to take your print projects to the next level. A common question that our customers ask is, "How do I set up a document correctly when printing with this kind of ink?"
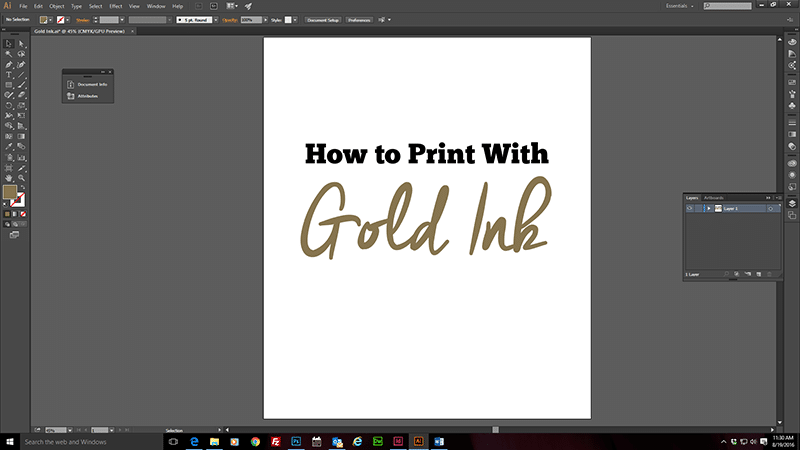
It's pretty simple, actually. Here's a step-by-step guide to setting up a document for gold ink. The steps for silver and white are very similar and are explained at the end of the post.
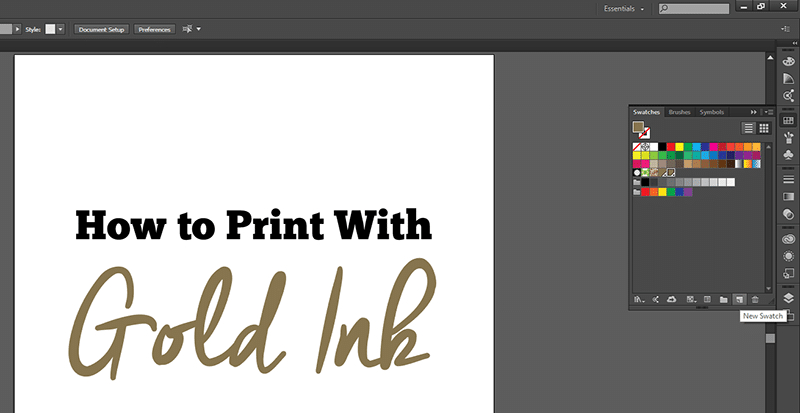
Important note before you get started: When designing your document, make sure that all of your gold text is in a separate content box than text that is being printed in a regular color.
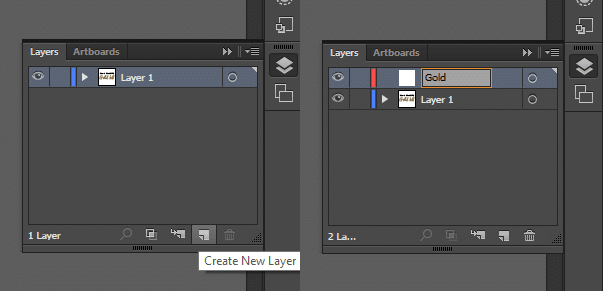
1. Open the document that should be printed with gold ink. Display the Layers palette if it is not already open. (Window > Layers)
2. Click the New Layer button at the bottom of the palette to create a new layer. Call this layer, “Gold.” Note: Spelling & capitalization must be exact.
3. Place all of the text that should be printed in gold ink on the "Gold" layer.
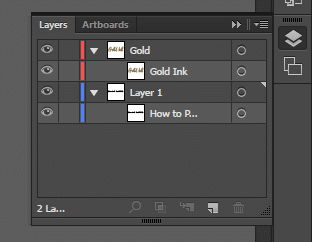
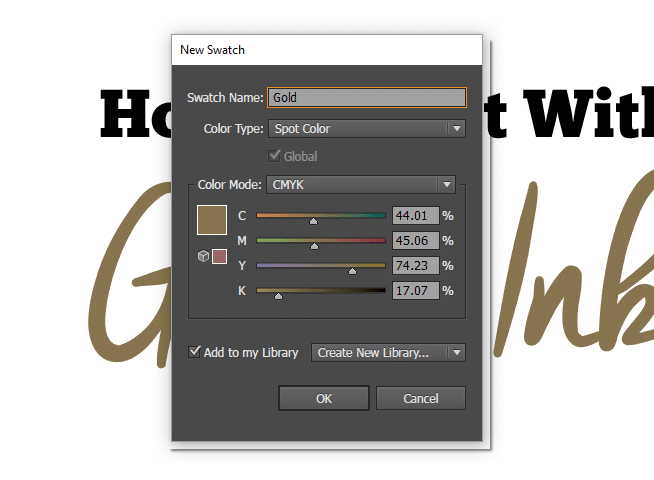
4. Open the Swatches palette (Window > Swatches). Click the New Swatch button at the bottom of the palette to create a new swatch.
5. Call this swatch, “Gold.” For color type, select, Spot Color. For color mode, select CMYK. The actual color of the swatch doesn’t matter – just the name. Click Ok.
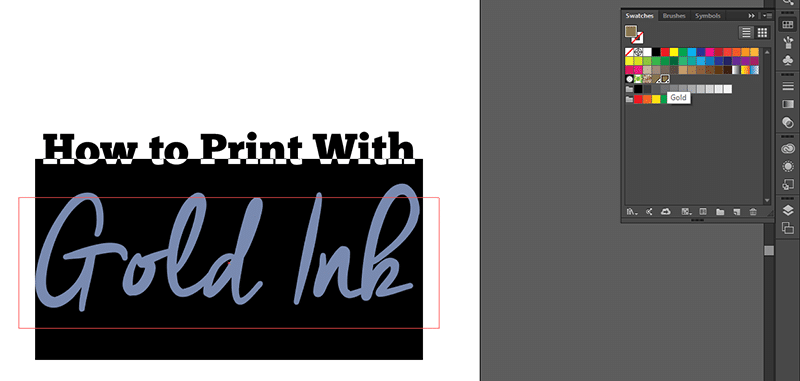
6. Highlight your text from the “Gold” layer and double-click your new “Gold” swatch to color that text (Tip: To make sure you are selecting the correct swatch, hover your mouse over it until the name appears). Once all of your gold text has been re-assigned to the “Gold” swatch, you’re finished!
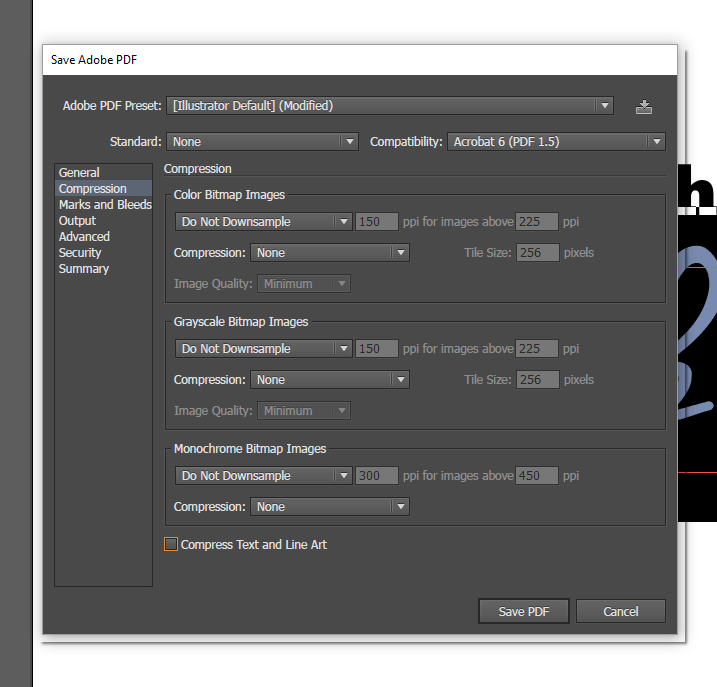
7. Click File > Save As and select Adobe PDF. In the dialogue box that appears, select the Compression tab. Select None for each instance where it asks for the Compression type. Uncheck the box that says, “Compress Text and Line Art.” Click Save PDF.
You’ve just created a Print-Ready PDF for gold ink. If you are setting up for silver, follow these steps but replace "Gold" with "Silver". For white ink, use "SpotColor_White". Note that these are case-sensitive and must be spelled precisely so that our machine can recognize them.

Plus instant access to our FREE template library!

Business is powered by print – and nobody does print better than Conlin’s!
![]()
![]()
![]()
![]()
©2024 Conlin's Print.
All rights reserved.


One Comment