Setting up your documents for the print might seem confusing, but it's actually pretty simple. There are three important factors that go into creating a good print-ready file. They are:
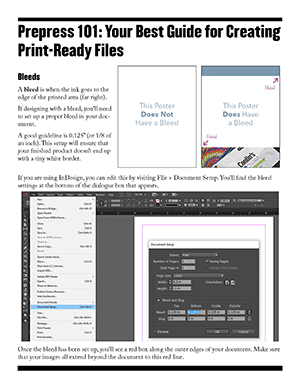
A common mistake in setting up documents for print is not building your margins or bleed into the design. As an example, lets say you are creating a poster that's 8.5" by 11". Many people would submit a .PDF document that is exactly 8.5" by 11". The truth is, your document should actually output to a slightly larger size. To determine appropriate document setup, you'll need to ask yourself the question will this project have a bleed? A bleed is when the ink goes to the edge of the printed area.


As a rule of thumb, all images should be at least 300 dpi or higher in CMYK.
RELATED: Prepress 101: How to Prepare Images for Print
When sending your files out for production, make sure you send “packaged files”. This type of bundle includes your document, any necessary fonts, linked graphics, and a package report.
Creating a packaged file is easy! Just select File > Package. In the dialogue box that appears, click Package (no need to alter any of the settings). The resulting folder should look something like this:

If you don't know how to export your font files, you can always save your text to "outlines". Go to Edit > Select All (or click CTRL + A) to select everything on your art board. Then select Type > Create Outlines. This will convert your text to an object, ensuring that your fonts stay true to your design, even if the printer doesn't have your font files.
Plus instant access to our FREE template library!
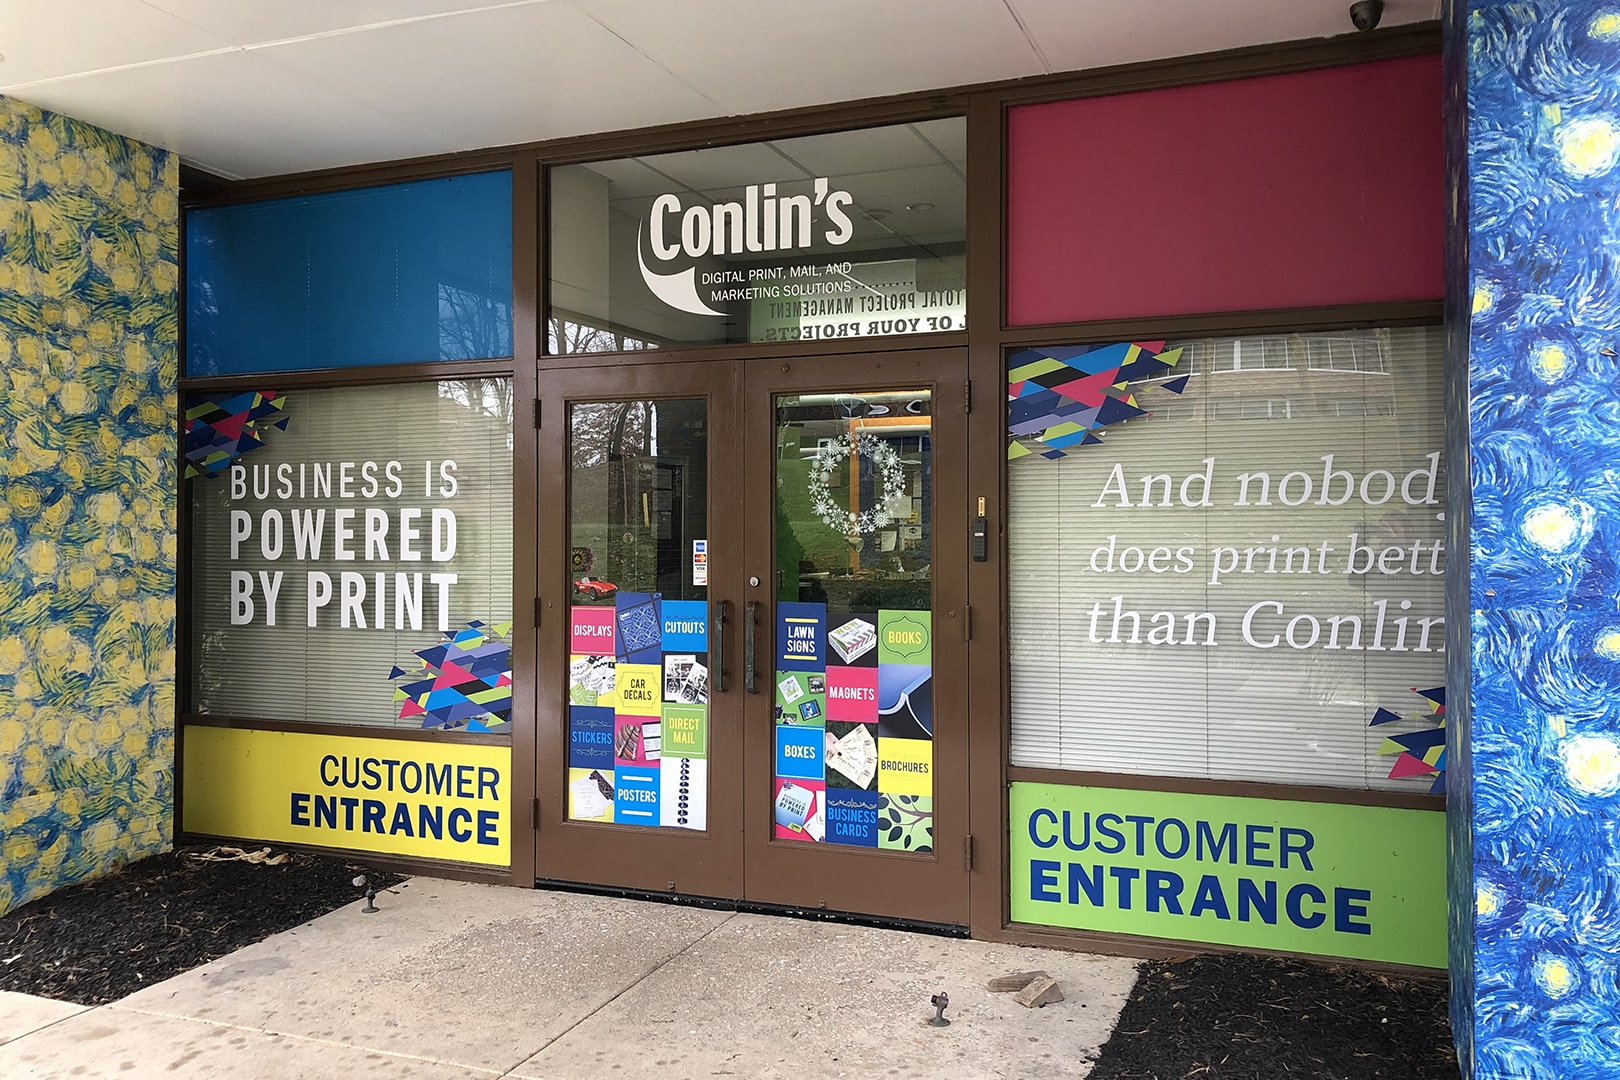
Business is powered by print – and nobody does print better than Conlin’s!
![]()
![]()
![]()
![]()
©2024 Conlin's Print.
All rights reserved.


One Comment